
How to Change the Name of Your Facebook Account
Facebook is one of the most popular social media platforms in the world with millions of users worldwide. Many people use Facebook to connect with friends and family, share photos and videos, and keep up with the latest news and trends. One important aspect of your Facebook profile is your name, which can be changed at any time. In this article, we will guide you through the steps to change the name of your Facebook account on different devices including Android, iOS, and PC.
How to Change Your Facebook Name on Android and iOS
If you’re using the Facebook app on your Android or iOS device, follow these simple steps to change your name:
Step 1: Launch the Facebook app and log in
Open the Facebook app on your device and log in to your account using your username and password, if you haven’t already.
Step 2: Access the menu
Tap the three horizontal lines in the top-right corner of your screen to open the menu.

Step 3: Go to “Settings”
Scroll down and tap on “Settings & privacy” and then tap “Settings”.

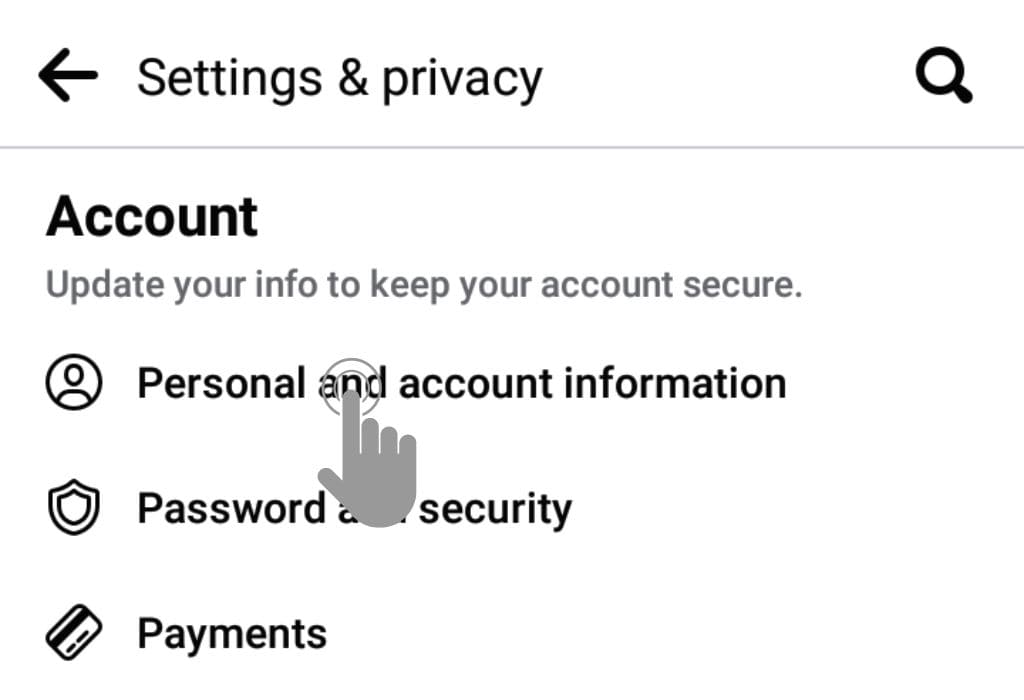
Step 4: Access “Personal Information”
Tap on “Personal and account information” to access your personal information settings.
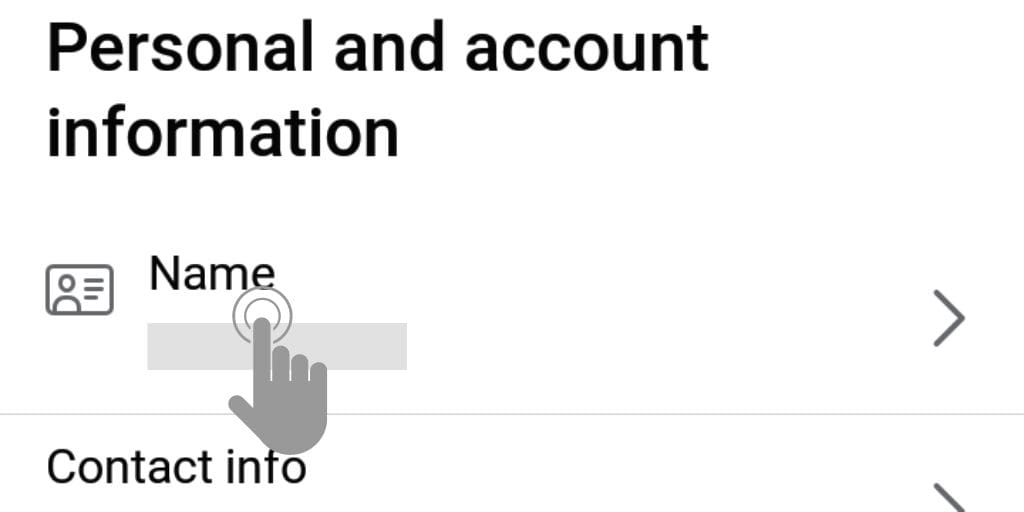
Step 5: Edit your name and save your changes
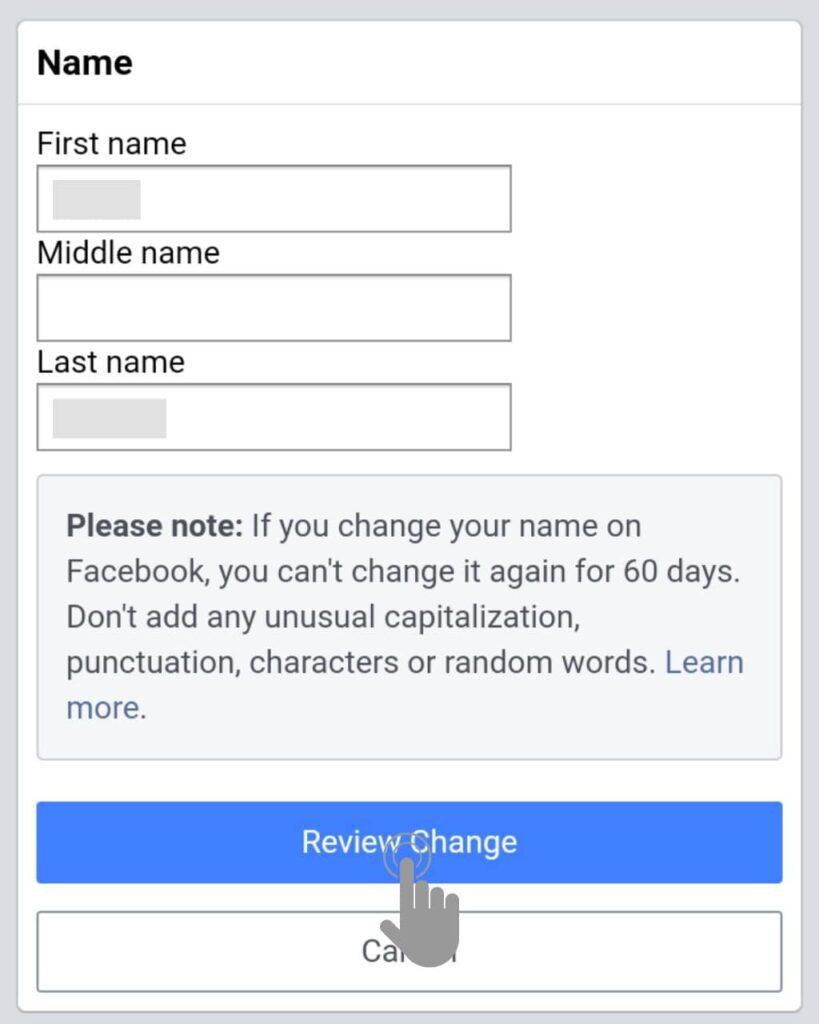
Tap on “Name” and then type in your new first and last name. Review the new name to ensure it is spelled correctly.
If you’re satisfied with the new name, tap on “Review Change” to review it. Then, enter your password and tap on “Save Changes” to update your name on Facebook.
And that’s it! Your Facebook name will now be updated with your new name.
Remember, Facebook has specific guidelines on what names are allowed on the platform, so make sure your new name complies with these rules.
How to Change Your Facebook Name on PC
If you prefer to use Facebook on your desktop, here’s how you can change your name:
Step 1: Go to Facebook and Log in to your account
Launch your preferred web browser and go to facebook.com, then enter your login credentials and log in to your Facebook account, if you haven’t already.
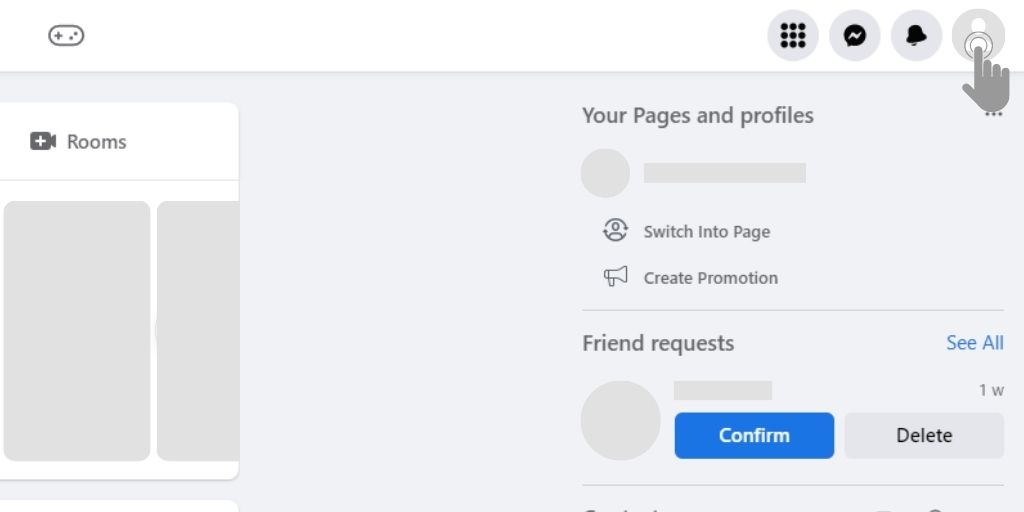
Step 2: Access the menu
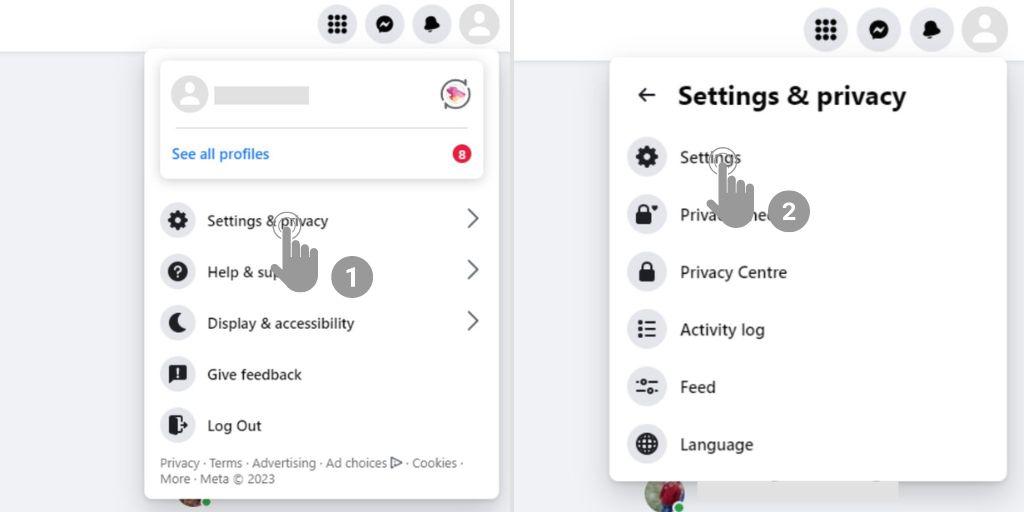
Click on the profile in the top-right corner of your screen to open the menu.
Step 3: Go to “Settings”
Click on “Settings & privacy” and then go to “Settings”.
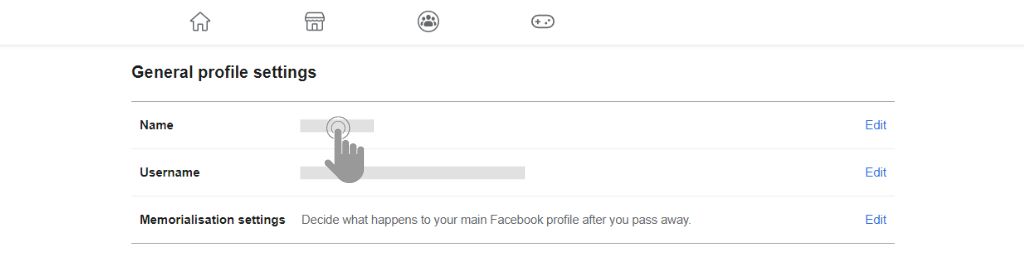
Step 4: Access “Name” settings
Click on “Name” under the “General” section to access your name settings.
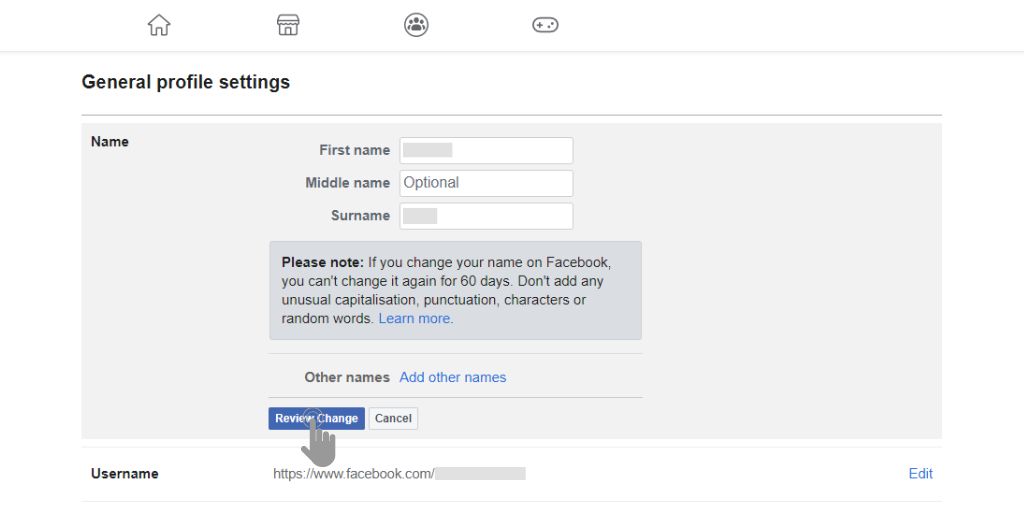
Step 5: Edit your name
Type your new first and last name in the provided fields. Make sure your new name complies with Facebook’s name policy.
Step 6: Review and save changes
Click on “Review Change” to review your new name. If you’re satisfied with the new name, enter your password and click on “Save Changes” to update your name on Facebook.
That’s it! Your new name will be updated on your Facebook profile.
Things to Keep in Mind
Before changing your name on Facebook, there are a few things you should keep in mind:
- You can only change your name on Facebook every 60 days. So make sure you’re happy with your new name before you save the changes.
- Facebook has specific guidelines for changing your name. For example, you can’t use any symbols, numbers, or punctuation in your name. Also, you can’t use titles like “Dr.” or “Sir”.
- If you want to change your name for professional reasons, you might want to consider creating a separate Facebook page or account for your business. This will help you keep your personal and professional lives separate.
Conclusion
Changing your name on Facebook is a simple process that you can complete from your Android or iOS device, as well as from your PC. Just follow the steps outlined in this article, and you’ll have your new name updated in no time. Remember to keep Facebook’s guidelines in mind when choosing your new name.